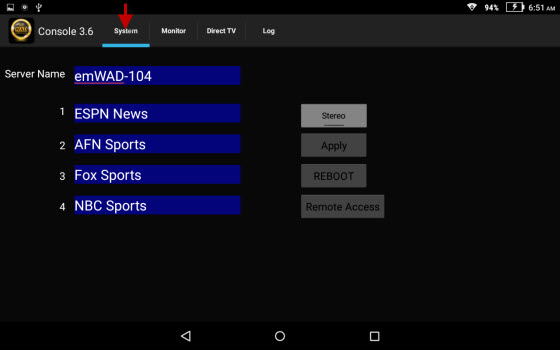
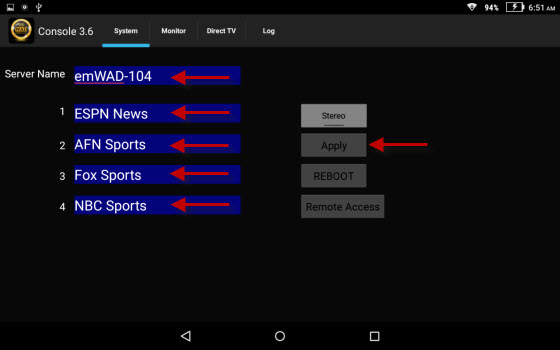
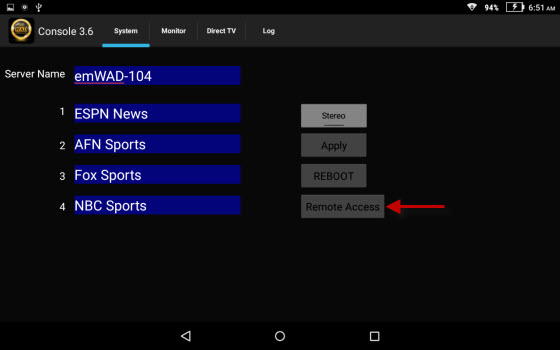
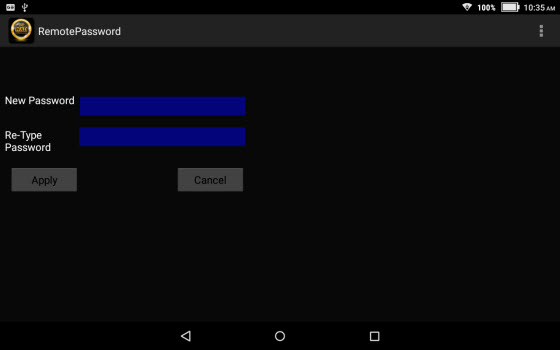
Press the Remote Access button to register the WAD Server in “Gocinet.com” cloud server. In the next screen, create a password and press Apply.
The WAD Server will be registered under the Server Name, which is more the reason for a unique name. The WAD Server must be connected to Internet for the registration.
When registered, you can monitor and control the WAD Server from anywhere using Internet. Simply go to Gocinet.com, login to your account, and access the WAD Server using the password.
For detail instruction, go to “How to setup and remote access WAD Server”.